Vehicle: White Defender 110 300Tdi County Station Wagon, 1994.
Work done by: Pete and Selina
Words by: Peter Johnson
Part 2
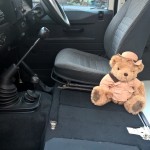
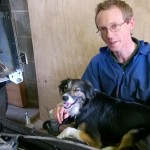
Now the chassis was sorted we could turn our attention to the rest of the vehicle. The drivers foot well was cleaned up and inspected by everyone, including our dog. The rusted section was cut away to allow a repair plate to be welded in after the base had been treated with a zinc spray. The small holes to the outside were covered from underneath after the welding and undersealed to prevent water getting in.
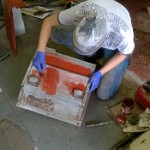
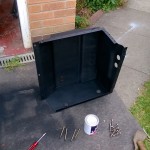
The front seat box had seen better days and so we drilled out all the pop rivets, welded patches where necessary, and cleaned and painted the separate sections before reassembling it. All the seams were sealed to make the tool box water tight, and the battery compartment vents were cleared and cleaned.
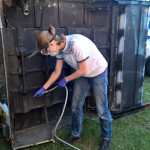
With the rear tub off, this seemed like a good time to repair the sills and clean and underseal the tub itself. An airline took care of much of the loose dirt (and paint) and what was left was wire brushed. New door hinge bolts were fitted at this point courtesy of a stainless steel door bolt kit.
With the underside surfaces taken care of, it was time to start to reassemble the parts into a whole Land Rover again. Slowly the vehicle started to come back together, although there were times when we felt that everything we looked at created another two jobs to do! But brackets were removed, cleaned and painted; panels treated for corrosion if evident and painted, and crucial parts replaced as necessary.
The old headlining had sagged and I was hoping to repair it (a cunning plan involving a hole cutter and spray adhesive) but sadly this was not to be – the failing material is foam backed and after 21 years the foam has decomposed and is crumbling so the headling falls away from the shaped liner that holds it up. New headlining material was therefore ordered and will be used to replace the old (keeping the same backing pieces).
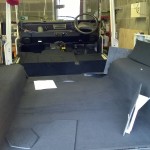
We also ordered a new carpet set from a well known trim company. A trial fit showed how good this will look once we finish fitting it, although I was surprised how much adjustment we are having to make – I hadn’t considered a 1994 Defender as an old model but quite a few of the holes are clearly for newer fittings and accessories. However this is a Land Rover and anything is possible if you persevere.
The carpet kit came with a new leatherette gearstick gaiter, however when we tried it in place we both decided to stick with the old rubber Defender one – it just seemed a bit more, well, Land Rover-ish. Fortunately the old rubber gaiter cleaned up really well in a mix of washing machine fluid and washing up liquid (a friend recommended “Put it through the dishwasher, it’ll come up a treat!” but since we haven’t got a dishwasher we had to find an alternative method, or buy the required equipment).
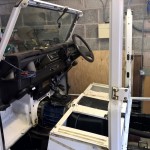
We now have the vehicle back together (doors and roof on) and relatively weather tight, freeing up the garage for working on the headlining. It’s a good sight, and with the front carpets fitted (and other original accessories) the Defender is looking even better than the day we bought it.
There are still jobs to do. The rear section still needs the carpet fitting. The alpine light rubbers could do with replacing and I’d like to clean up the front grill and headlight surround. The engine is due for a minor service and I also plan to renew the front brake callipers (rusty but working) and discs (a bit scored) and rear brake callipers (also showing their age) so the brake system is as good as new. The steel wheels could do with a wire brushing and a new coat of paint too.
All of this (and a wash, wax and polish…) will take place over the next few weekends as our working holiday comes to an end. Finally, the front bulkhead will need some work in a couple of years too but that, I think, will be another story.

